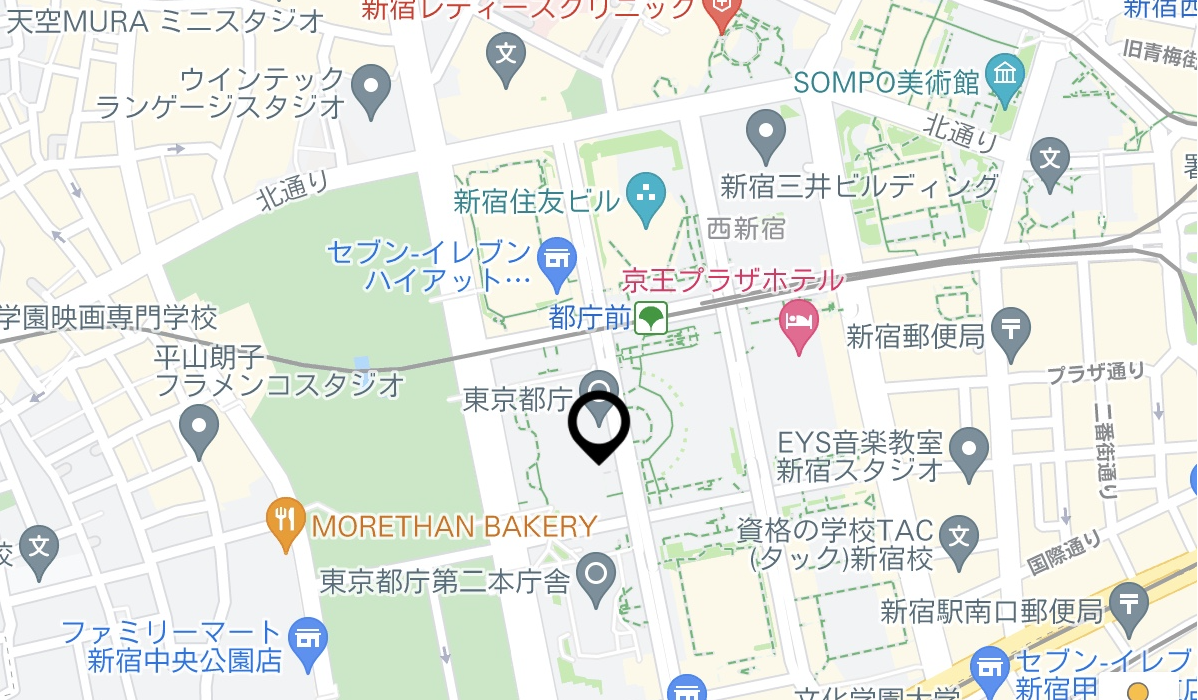
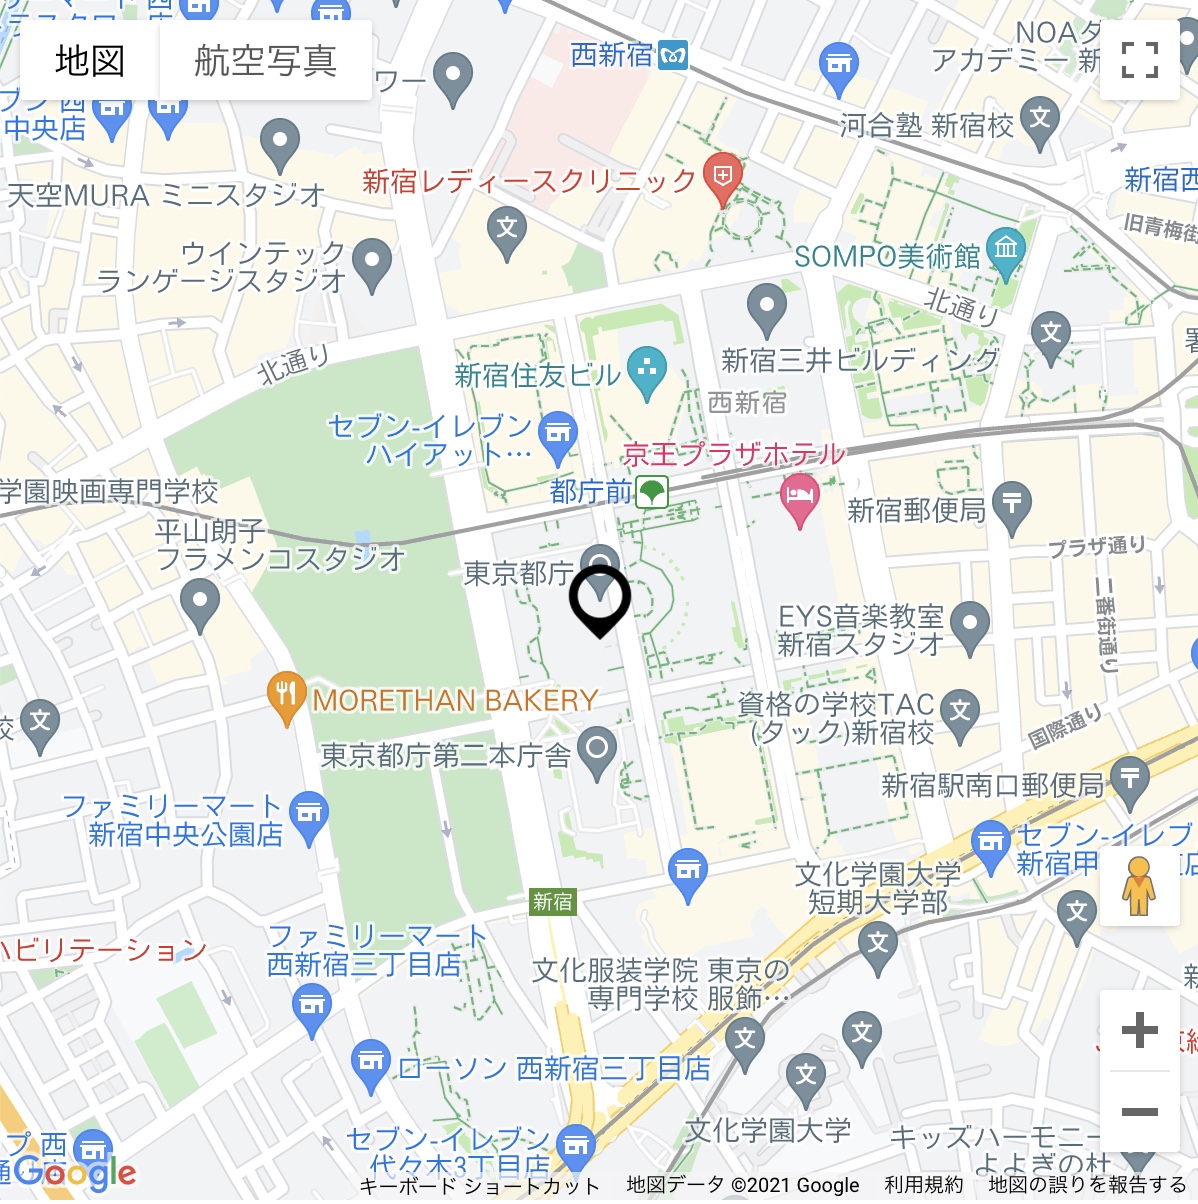
タイトルの通り、React + Google Maps JavaScript APIでDeck.glを使ってみた時の知見を書いていきます。
Deck.gl とは
公式HPはこちらです。
Home | deck.gl
deck.gl
おそらくこのページに興味を持つ方は、なかなかマニアックな方だと思うので、詳細は割愛します(笑)
開発環境構築
プロジェクト作成
まずは、create-react-appで React + TypeScript な雛形を作っちゃいます。
$ npx create-react-app . --template typescriptパッケージのインストール
次に必要なパッケージをインストールします。
- @react-google-maps/api
- deck.gl
- @deck.gl/google-maps
- @types/googlemaps
- @danmarshall/deckgl-typings
$ yarn add @react-google-maps/api deck.gl @deck.gl/google-maps @types/googlemaps @danmarshall/deckgl-typings型定義
型定義を行うファイルを作って、、、
$ touch src/deckgl.d.ts以下の記述をします。
import * as DeckTypings from '@danmarshall/deckgl-typings';

declare module 'deck.gl' {
    export namespace DeckTypings {}
}
tsconfig.json も以下のように書き換えます。
{
  "compilerOptions": {
    "target": "es5",
    "lib": [
      "dom",
      "dom.iterable",
      "esnext"
    ],
    "allowJs": true,
    "skipLibCheck": true,
    "esModuleInterop": true,
    "allowSyntheticDefaultImports": true,
    "strict": true,
    "forceConsistentCasingInFileNames": true,
    "noFallthroughCasesInSwitch": true,
    "module": "esnext",
    "moduleResolution": "node",
    "resolveJsonModule": true,
    "isolatedModules": true,
    "noEmit": true,
    "jsx": "react-jsx",
    "types": ["googlemaps"] // 追加
  },
  "include": [
    "src"
  ]
}
Google Maps JavaScript API の Key を設定
.env.localファイルに記載します(開発、ステージング、本番など、分ける場合は適宜)
$ touch .env.local以下は.env.localファイルの記述内容です
REACT_APP_GOOGLE_MAP_API_KEY={YOUR_API_KEY}環境変数の値は型が定義されていないので、 定義しておきます。
src/react-app-env.d.ts を編集してください。
// この部分だけ修正
declare namespace NodeJS {
  interface ProcessEnv {
    readonly NODE_ENV: 'development' | 'production' | 'test';
    readonly PUBLIC_URL: string;
    readonly REACT_APP_GOOGLE_MAP_API_KEY: string; // これを追加して、型を定義しておく
  }
}
これで、開発環境構築はひとまず完了です。
Googleマップの表示
実際にGoogleマップを表示させてみます。
GoogleMapコンポーネントの子にはDeck.glのコンポーネントを挿入します。
src/App.tsx を以下のように編集してください。
import { GoogleMap, useLoadScript } from '@react-google-maps/api';
import DeckOverlay from './DeckOverlay';

function App() {
    const { isLoaded, loadError } = useLoadScript({
        googleMapsApiKey: process.env.REACT_APP_GOOGLE_MAP_API_KEY,
    });

    if (loadError) return <div>load Error</div>;

    return isLoaded ? (
        <div style={{ height: '600px', width: '600px'}}>
            <GoogleMap
                id="wdb-google-map"
                clickableIcons={false}
                mapContainerStyle={{
                    height: '100%',
                    width: '100%',
                    position: 'relative',
                }}
                zoom={16}
                onLoad={map => {
                    map.setCenter({
                        lat: 35.689634,
                        lng: 139.692101,
                    });
                }}
            >
                <DeckOverlay />
            </GoogleMap>
        </div>
    ) : (
        <></>
    );
};

export default App;
App.tsx 内の <DeckOverlay> コンポーネントを作成します。
src/DeckOverlay.tsx を作成して、以下のように記述してください。
import { GoogleMapsOverlay } from "@deck.gl/google-maps";
import { useGoogleMap } from "@react-google-maps/api";
import { IconLayer } from "deck.gl";
import { useEffect } from "react";

let overlay: GoogleMapsOverlay;

function DeckOverlay() {
    const map = useGoogleMap();

    const ICON_MAPPING = {
        marker: {x: 0, y: 0, width: 128, height: 128, mask: true}
    };

    const data = [
        {position: [139.692101, 35.689634]},
    ];

    const iconLayer = new IconLayer({
        id: 'icon-layer',
        data,
        iconAtlas: 'https://raw.githubusercontent.com/visgl/deck.gl-data/master/website/icon-atlas.png',
        iconMapping: ICON_MAPPING,
        getIcon: () => 'marker',
        sizeScale: 8,
        getSize: () => 5,
    });

    useEffect(() => {
        overlay = new GoogleMapsOverlay({
            id: 'deck_gl_google_map_overlay',
            layers: [iconLayer],
        });
        overlay.setMap(map);
        return () => {
            overlay.finalize();
        };
    }, []);

    return null;
};

export default DeckOverlay;
これで、ひとまずはGoogleマップとDeck.glを組み合わせた地図表示ができるようになりました。
追記
ノウハウ編も書きました。

React で deck.gl を Google Maps JavaScript API と組み合わせて扱うときの知見(ノウハウ編)
タイトルの通り、React + Google Maps JavaScript APIでDeck.glを使ってみた時の知見を書いていきます。Deck.glの導入については、以下の記事をご覧ください。GeoJsonLayer冒頭のDec...


